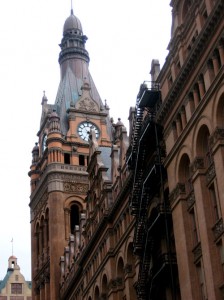
Now, assume for a moment I wanted to focus attention strictly on the tower, up around the clock, to show off some of the great architectural detail on the Milwaukee City Hall. One way to do this is to blur out the rest of the picture (called a “depth of field” effect). The masking adjustment and edge refining controls that were added in CS4 make this damn simple.
I’m a big fan of being able to change my mind later in the project. Undo is great if you catch something right away but what is the right decision now may turn out to be all wrong once you get further into the process. I also generally try to keep my layers as minimal as possible because it’s just too easy to lose track of what’s what when you’ve got to scroll a several-screen stack of layers. That by itself is more than enough reason to use Smart Objects — I’m always looking for better ways to do things by incorporating Smart Objects in my workflow.
Additionally, most of the tutorials I’ve seen for this effect include several layers via copy with various levels of blurring filters applied to each layer. Those work but you can achieve the same effect with a single layer, with a much greater degree of control over the blur. Smart objects to the rescue!
(An in-depth description of what Smart Objects are is outside the scope of this tutorial. Short answer: They store all the information of the original file/layers without modification so you can apply filters and effects and yet still go back and change the original layers later).
First you need to either unlock your background layer or duplicate the background. Then right click on it and select “Convert to Smart Object”. Your layers palette should now look like this:
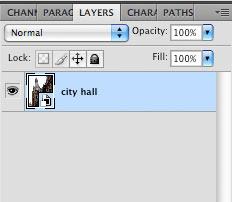
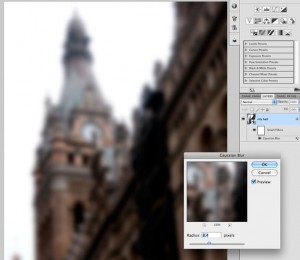
With your smart object selected, go to Filters > Blur > Gaussian Blur. Increase the blur amount to match what you want the blurriest part of the final image to look like. I’ve over-exaggerated the blur in this image so you can see the effect in action more clearly later; you may not want to take your image as blurry as I have here.
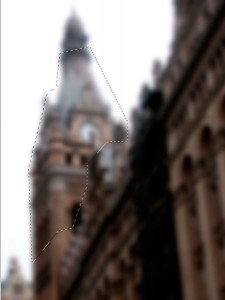
Now, you can use whatever selection tool you’re most comfortable with and select the parts of the picture you want to be perfectly sharp. This doesn’t need to be a perfect selection in any way — no need for cutouts with this method. I just used the Polygonal Lasso to roughly select the tower around the clock and some of the better architectural detail.
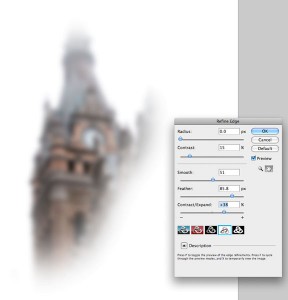
Choose Select > Refine Edge. Play with the settings until you have a nice soft edge (you don’t want a hard edge at this point or your photo will look unnatural).
When you’re happy with the edge, take a look at your layers palette. You see attached to your smart object, between it and the gaussian filter, there’s a blank white rectangle that looks like its own layer labelled “Smart Filters” (You can see this illustrated three pictures back). This is the filter mask. You can treat this layer like you would any other mask. Click on it so the mask is selected and then do Edit > Fill. Choose Black at 100%.
Your picture should now look something like this:
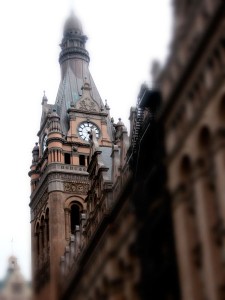
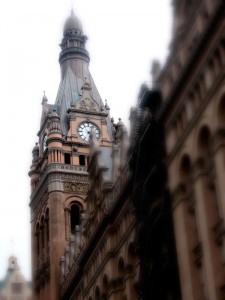
As I mentioned before, you can treat this layer as you would any other mask. What it masks is the severity of the effect. From this point, you can go back and paint directly on the mask using a soft brush or the gradient tool to refine the gaussian blur effect further. I selected the wall that intersected the tower and used the same technique with a very light gradient instead of using Edit > Fill to add a sense that the blurriness was lessened the closer to the tower, and used a soft-edged brush to make the distinction between the raised areas of the wall and the tower behind them more pronounced. I love the stormy, dreamy feeling of the final piece:
Leave a Reply